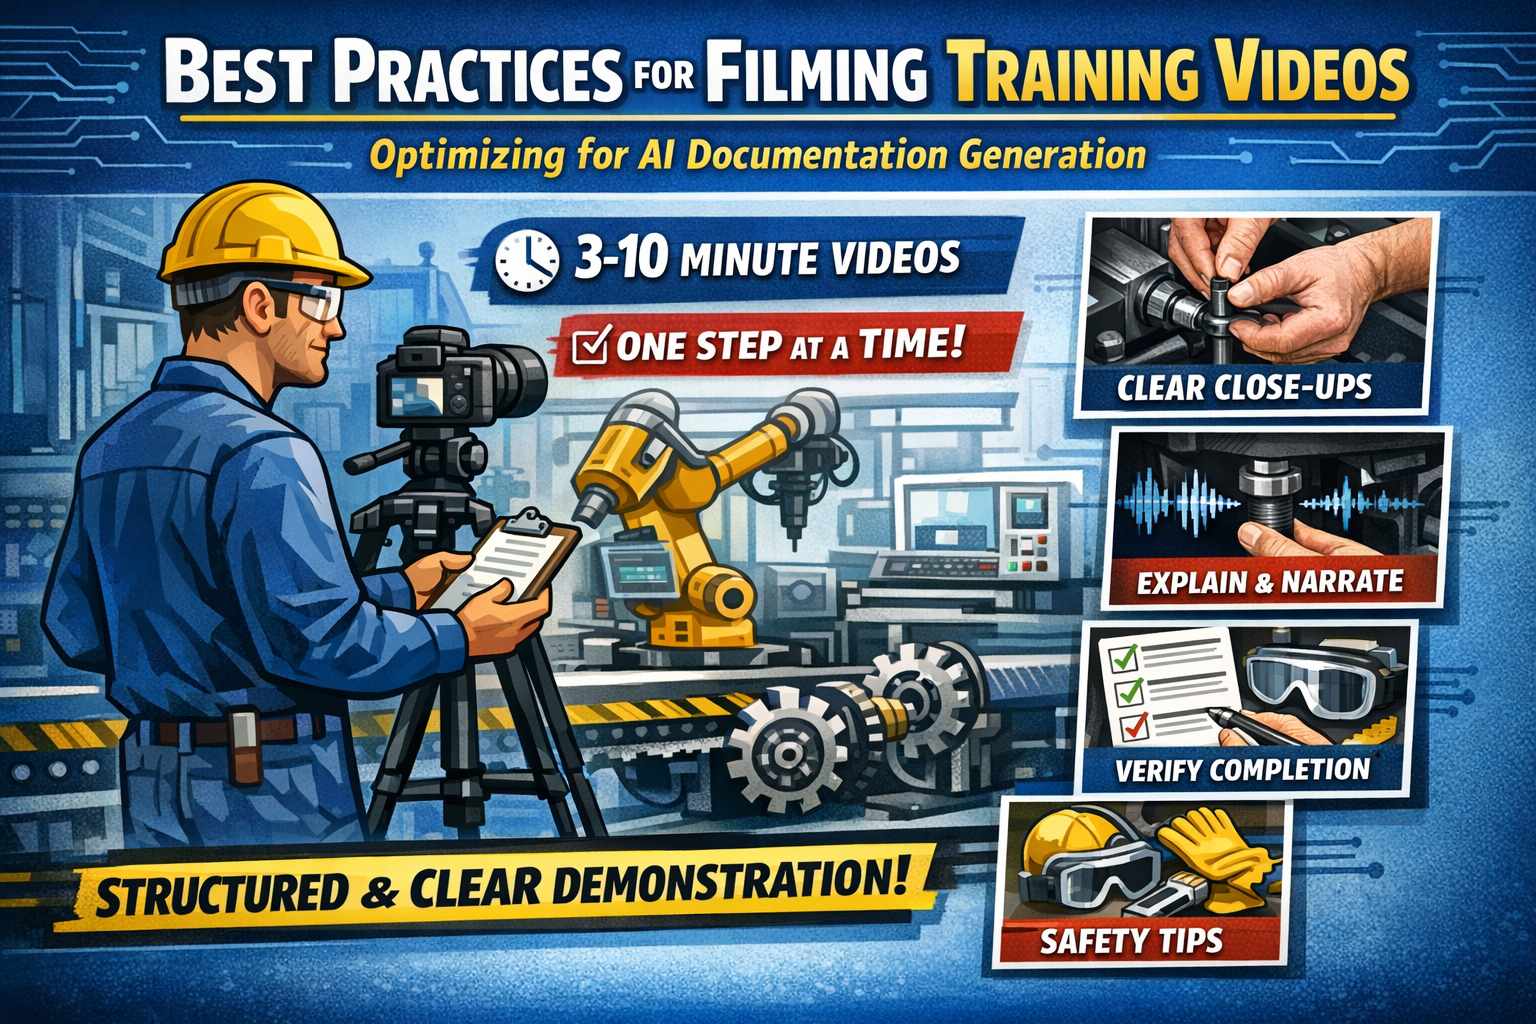
Best Practices for Filming Training Videos That Convert to Great Documentation
Creating training videos is only half the battle. If you're using AI-powered tools to convert those videos into written documentation, how you film matters just as much as what you film. This guide covers proven techniques for recording training videos that produce clear, accurate, and professional documentation every time.
Why Filming Technique Matters for AI Documentation
AI documentation tools analyze both the visual and audio content of your videos. The clearer your footage and narration, the more accurate and useful the generated documentation will be. Think of it this way: if a human watching your video would struggle to follow along, the AI will too.
The good news? You don't need professional video equipment or editing skills. Following a few simple guidelines will dramatically improve your results.
Video Length and Scope
Keep Videos Focused and Concise
The sweet spot for training videos is 3-10 minutes. This length is optimal for both AI processing and user engagement. Longer videos can be processed, but they're harder to maintain and update when procedures change.
The golden rule: One process per video.
Break down complex operations into discrete, logical steps. This makes your documentation modular and easier to maintain.
Example: Breaking Down a Complex Process
Instead of creating one 20-minute video called "Complete Machine Setup," create separate focused videos:
| Video | Length | Content |
|---|---|---|
| Unboxing & Initial Inspection | 4 min | What's in the box, condition check |
| Physical Installation | 5 min | Mounting, positioning, securing |
| Electrical Connections | 3 min | Power, data cables, grounding |
| Software Configuration | 6 min | Initial settings, network setup |
| First Run Calibration | 5 min | Testing, adjustments, verification |
This approach has several advantages: - Each video produces a standalone guide - Updates only require re-filming the changed section - Users can jump directly to the step they need - AI generates cleaner, more focused documentation
Narration and Audio Best Practices
Speak Clearly and Describe Your Actions
Our AI analyzes both visual and audio content. Clear narration significantly improves documentation quality. Describe what you're doing as you do it, and explain the reasoning behind critical steps.
Good narration example:
"Using a 13mm wrench, tighten the coupling to 45 ft-lbs. This torque specification is critical—under-tightening can cause vibration, while over-tightening may crack the housing."
Poor narration example:
"Now tighten this."
The difference in generated documentation quality is dramatic. Specific details like tool sizes, torque values, part names, and measurement readings all get captured and included in the written guide.
Audio Quality Tips
- Minimize background noise — Factory sounds and ambient noise are fine, but avoid music or overlapping conversations
- Use a decent microphone — Even a smartphone lapel mic improves clarity significantly
- Maintain consistent volume — Don't trail off at the end of sentences
- Pause between major steps — This helps the AI identify section breaks
Visual Quality Guidelines
Lighting
Good lighting is non-negotiable. The AI captures screenshots at key moments, and dark or shadowy footage produces unusable images.
- Ensure your work area is well-lit from multiple angles
- Avoid harsh shadows that obscure details
- If working on screens, reduce glare and reflections
- Natural light is great, but consistent artificial lighting is more reliable
Camera Work
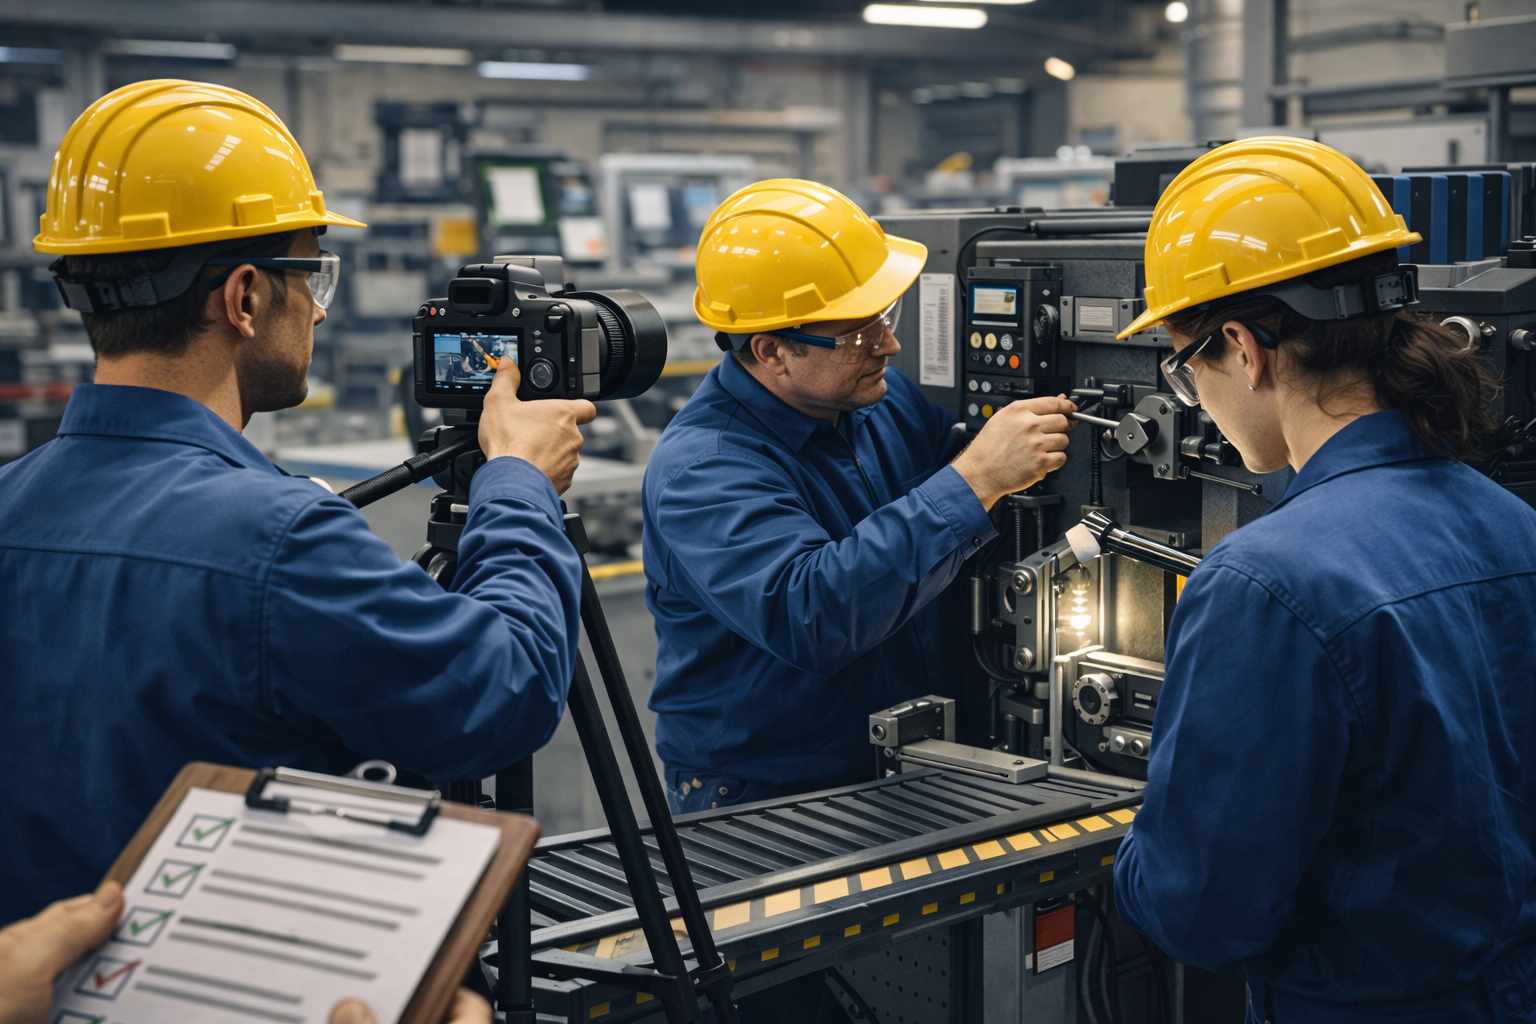
Stability matters. Use a tripod or fixed mounting whenever possible. Shaky footage is harder for AI to analyze and produces blurry screenshots.
Show context, then details. Start with a wide shot showing the full work area or equipment, then zoom in for specific steps. This helps users orient themselves before diving into details.
Close-ups for critical steps. Zoom in when showing: - Specific connections or adjustments - Indicator lights or display readings - Small parts or precise alignments - Text on labels or screens
Hold key positions. When you reach an important step, hold the position for 2-3 seconds. This gives the AI time to capture a clear screenshot.
Structuring Your Process
The Ideal Video Structure
-
Overview (15-30 seconds) Start by showing the completed state or end goal. This gives viewers context for what they're about to learn.
-
Safety First Highlight any required safety equipment or precautions at the beginning. The AI will capture these as safety warnings in the documentation.
-
Sequential Steps Follow the actual work order logically. Don't jump around—the AI structures documentation based on the sequence in your video.
-
Verification Show how to confirm each step was completed correctly. What should the user see or measure to know they did it right?
-
Common Mistakes (Optional) If it's safe to demonstrate, briefly show what NOT to do. These become valuable troubleshooting sections in the documentation.
On-Screen Techniques
- Point to components when referencing them verbally
- Hold positions for 2-3 seconds at critical moments
- Display measurements clearly to the camera
- Use your hands to direct attention to small or hard-to-see details
- Face the camera when explaining concepts (not just the work)
Industry-Specific Tips
Manufacturing and Equipment
- Machine states: Clearly show and verbally state whether equipment is powered on/off
- Tool requirements: Show all required tools at the beginning of the video
- Sequence dependencies: Explain why steps must occur in a specific order
- Quality checkpoints: Demonstrate how to verify each stage before proceeding
Software and Screen Recordings
- Cursor visibility: Use a larger cursor or highlight clicks
- Zoom on important UI elements: Don't assume viewers can read small text
- Pause on dialogs: Hold for a moment when important windows or messages appear
- Explain navigation: "Click Settings in the top-right corner" not just "Click here"
Field and Service Work
- Establish location: Show the broader environment before focusing on the task
- Weather and conditions: Note any environmental factors that affect the procedure
- Vehicle or equipment identification: Show model numbers, nameplates, or other identifiers
What the AI Captures Automatically
When you upload a video to Docsie's Documentation Assistant, the AI automatically:
- Extracts and transcribes all spoken narration
- Captures screenshots at transition points and key moments
- Identifies sequential steps and structures them logically
- Generates safety warnings from your callouts
- Creates equipment lists from mentioned tools and parts
- Builds troubleshooting sections from common issues you mention
The better your input, the better the output. Following these guidelines means less editing and review time after generation.
Technical Requirements
What You Need
The good news: minimal equipment is required.
- Camera: Smartphone, webcam, or any video camera works
- Audio: Built-in mic is fine; lapel mic is better
- Orientation: Horizontal (landscape) or vertical (portrait) both work
- Format: MP4, MOV, AVI, or any common video format
- Editing: Not required—raw footage works great
What Improves Results
- Tripod or stable mounting
- External microphone
- Consistent lighting setup
- Quiet recording environment
Quick Reference Checklist
Before you hit record, run through this checklist:
Planning: - [ ] Single process/topic per video - [ ] Target length: 3-10 minutes - [ ] Tools and materials gathered - [ ] Work area clean and organized
Setup: - [ ] Camera stable (tripod preferred) - [ ] Lighting adequate - [ ] Background noise minimized - [ ] Test recording looks and sounds good
During Recording: - [ ] Start with overview/end goal - [ ] Cover safety requirements first - [ ] Speak clearly, describe actions - [ ] Mention specific names, values, measurements - [ ] Hold key positions for 2-3 seconds - [ ] Show verification at each stage
After Recording: - [ ] Review footage briefly for major issues - [ ] No editing needed—upload directly - [ ] Use descriptive filename
Common Mistakes to Avoid
Moving too fast. The AI can process quick movements, but clear screenshots require you to pause at key moments.
Assuming visual context. What's obvious to you may not be obvious to viewers (or AI). Verbally describe what you're showing.
Background music. It interferes with transcription and doesn't add value for documentation purposes.
Multiple topics in one video. This creates confusing, hard-to-navigate documentation. Keep videos focused.
Poor lighting on screens. Glare and reflections make text unreadable in screenshots.
Mumbling or trailing off. Clear, consistent audio produces accurate transcription.
Ready to Test Your Videos?
The best way to refine your filming technique is to see real results. Upload a test video and review the generated documentation—you'll quickly learn what works and what to improve.
Book a Demo → | Learn More About Video-to-Docs →
Our team can walk you through the process with your actual content and provide specific feedback on optimizing your videos for documentation generation.